Sales Return (Credit Note) - Payment Adjustment against New Sales Invoice
By Twinkle Damania on September 13, 2021
IntermediateCredit Note adjustment against new Sales Invoice
Return/Credit Note is created against returned goods. Let’s see how we can create a Credit Note and then adjust it against a new Sales Invoice with an example. Consider a scenario, where we have created a Sales Invoice followed by the Payment Entry for our Customer -> Riya.
Sales Invoice
Customer: Riya
Item: Big Box
Qty: 2 boxes
Rate: 200
Total: Rs.400
Riya wants to return just 1 box worth Rs.200. So we create a Return/Credit Note against the existing Sales Invoice for 1 box. Now we have to refund Rs.200 to our customer.
Instead of refunding the outstanding amount of Rs.200, she wants to purchase a smaller box worth Rs.100 and needs the remaining Rs.100 as a refund.
Let's check out this scenario in ERPNext with steps.
Sales Invoice
Qty: 2 boxes
Rate: 200
Amount (INR): Rs. 400

Payment Entry against the Sales Invoice
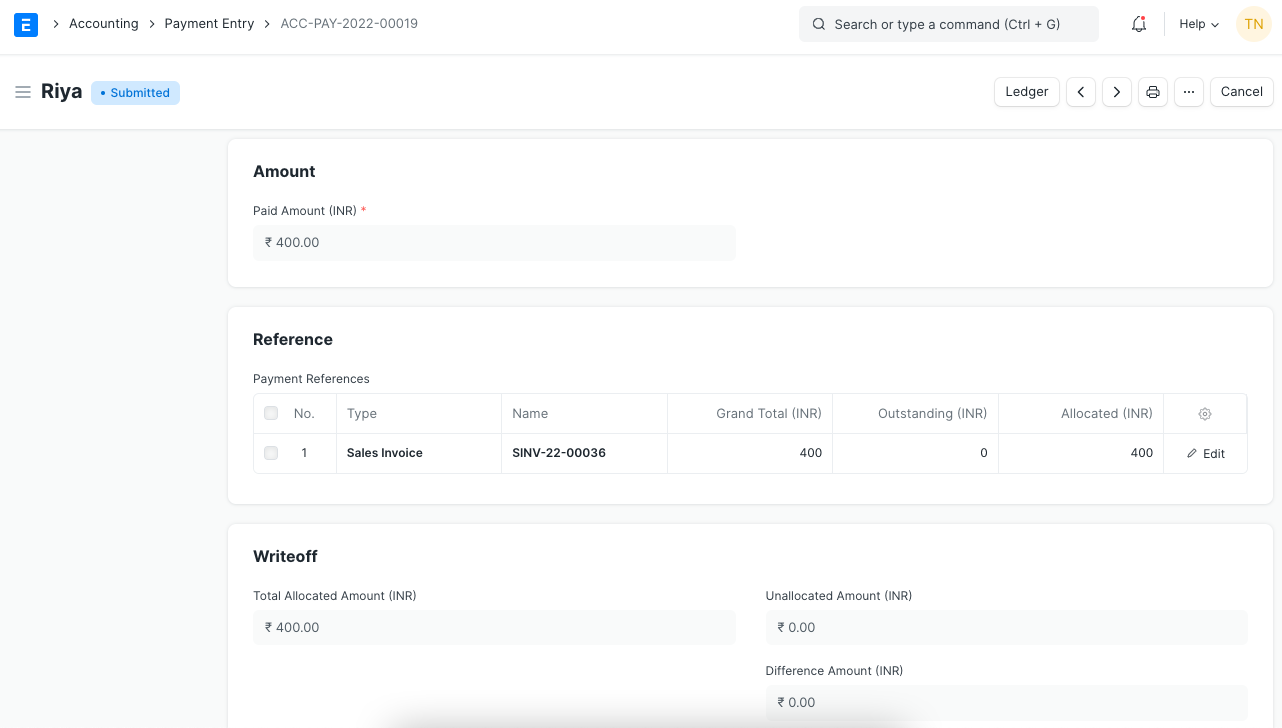
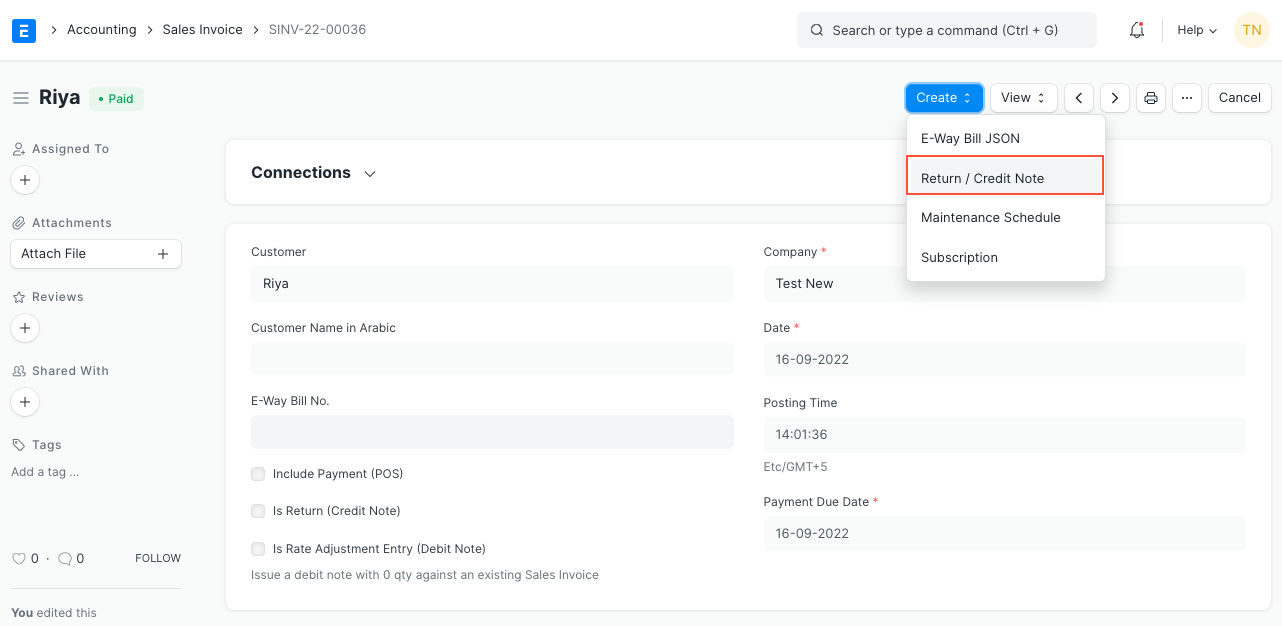
Now, the Items are returned, so we create a Credit Note.
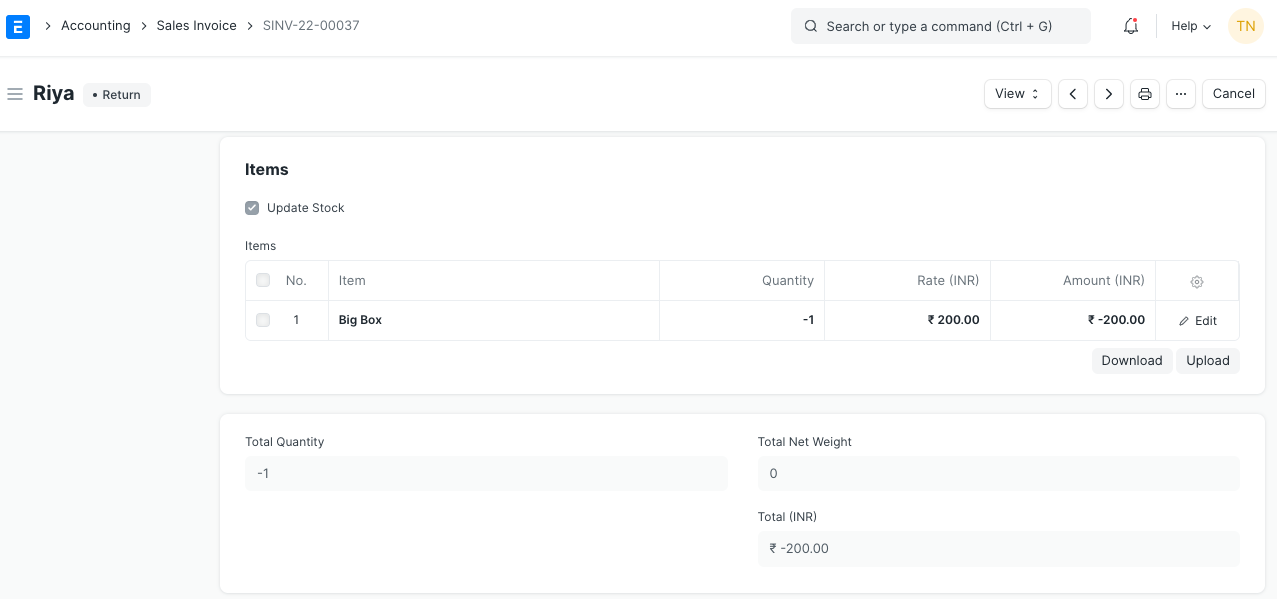
Go to Sales Invoice > Create > Return/Credit Note for
Qty: 1
Rate: 200
Amount (INR): Rs. 200
A Sales Invoice Return will be created for the returned quantities.
The status of the original Sales Invoice will change from 'Paid' to 'Credit Note Issued.'
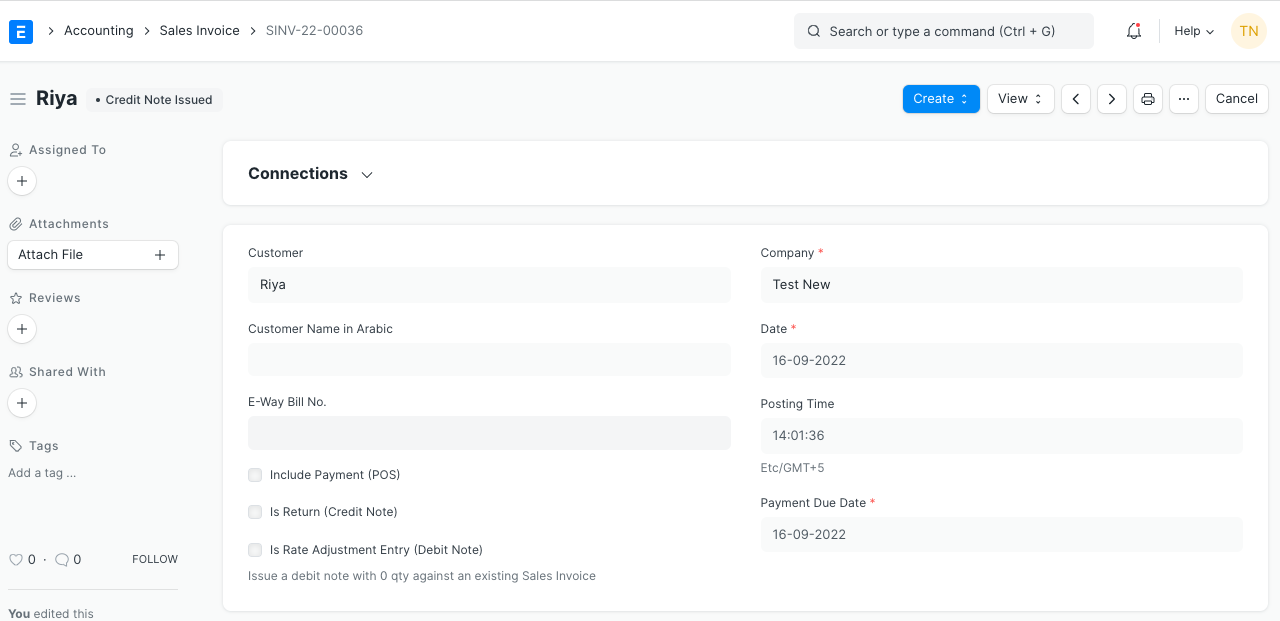
This is the basic procedure where we owe the customer Rs. 200 (credit note created). Below is the Accounting Ledger for the Customer.

Now, the customer wants to purchase a Small Box worth Rs. 100. She asks us to adjust the payment of the Small Box from the outstanding amount and refund the remaining balance.
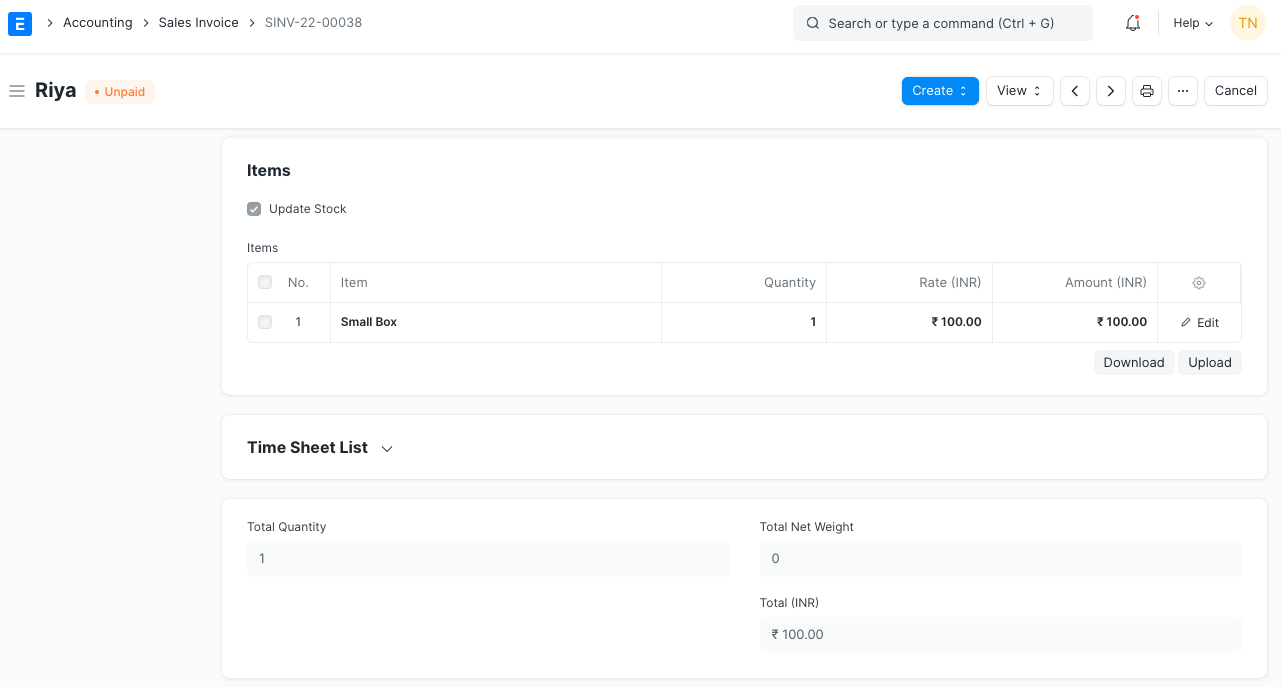
We will create a new Sales Invoice for
Item: Small Box
Qty: 1
Rate: 100
Amount (INR): Rs. 100
The status of the Sales Invoice is 'Unpaid.'
The final step is to create a Journal Entry as below.
Debtors .. Dr. 200 (Link the old Sales Invoice)
Debtors .. Cr. 100. (Link the new Sales Invoice)
Cash/Bank .. Cr. 100
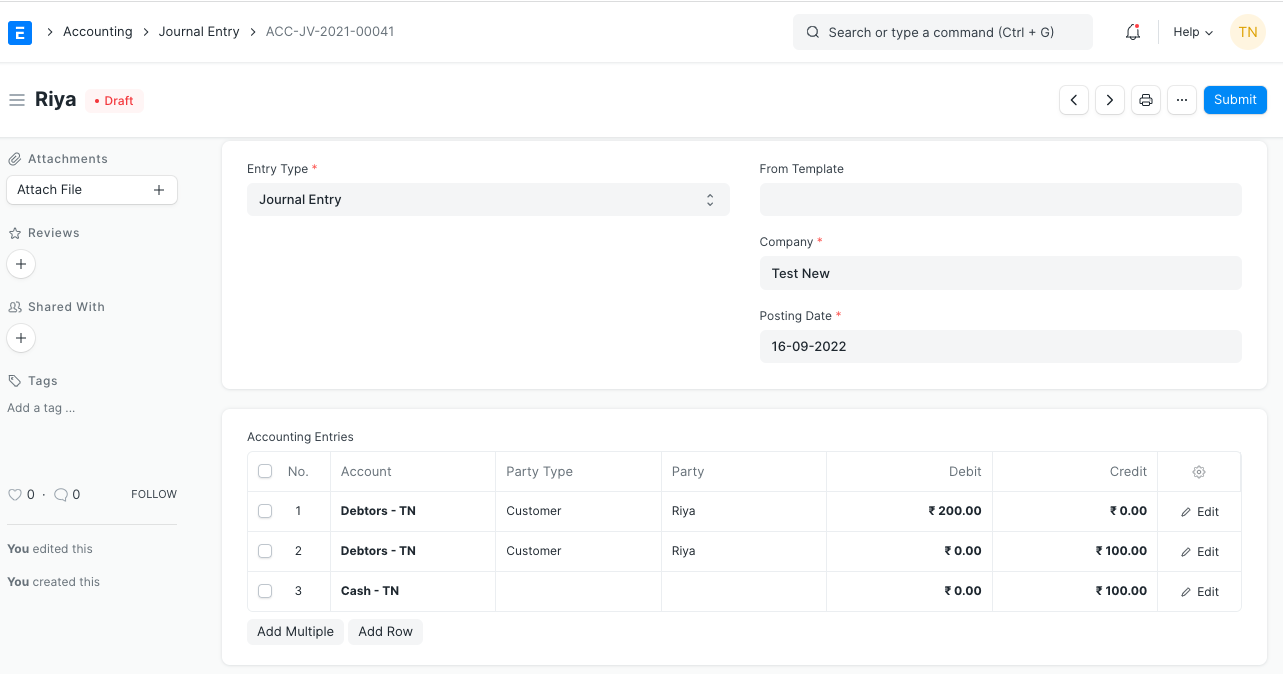
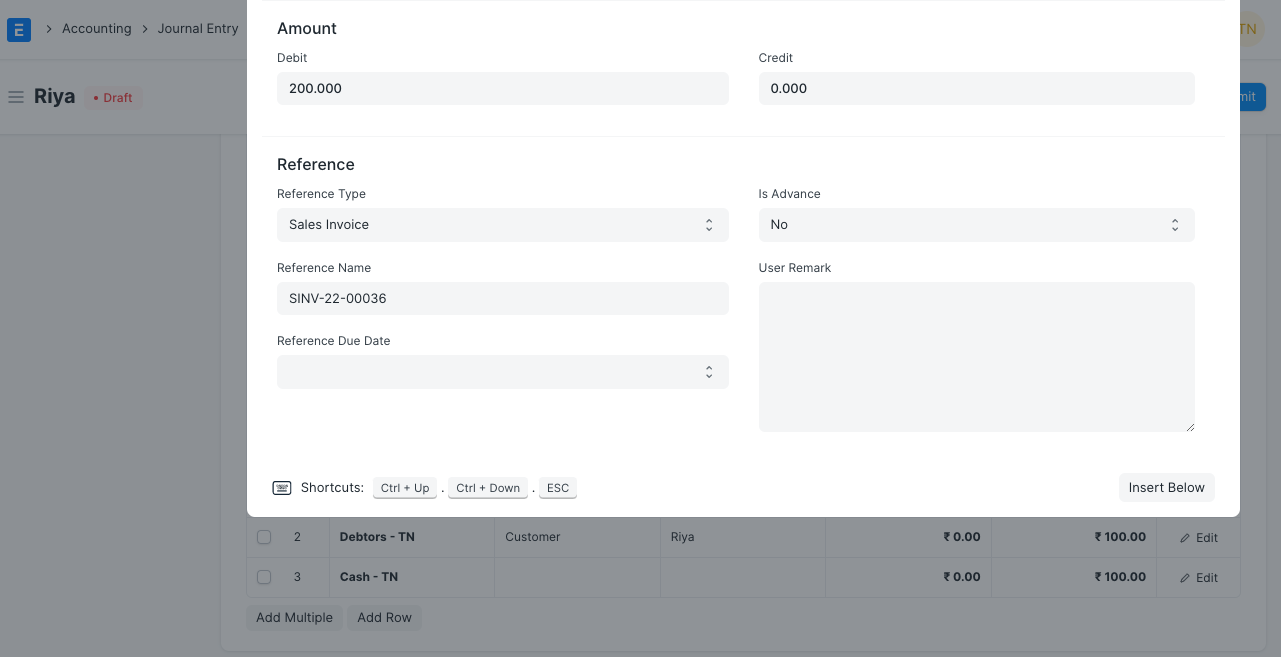
For linking, click on Edit > add the Reference Type = Sales invoice and select the Reference Name as the old Sales Invoice. Follow the same steps for linking the new Sales Invoice in the 2nd row for Amount: Rs. 100. Linking both of the Sales Invoices is an important step to reconcile
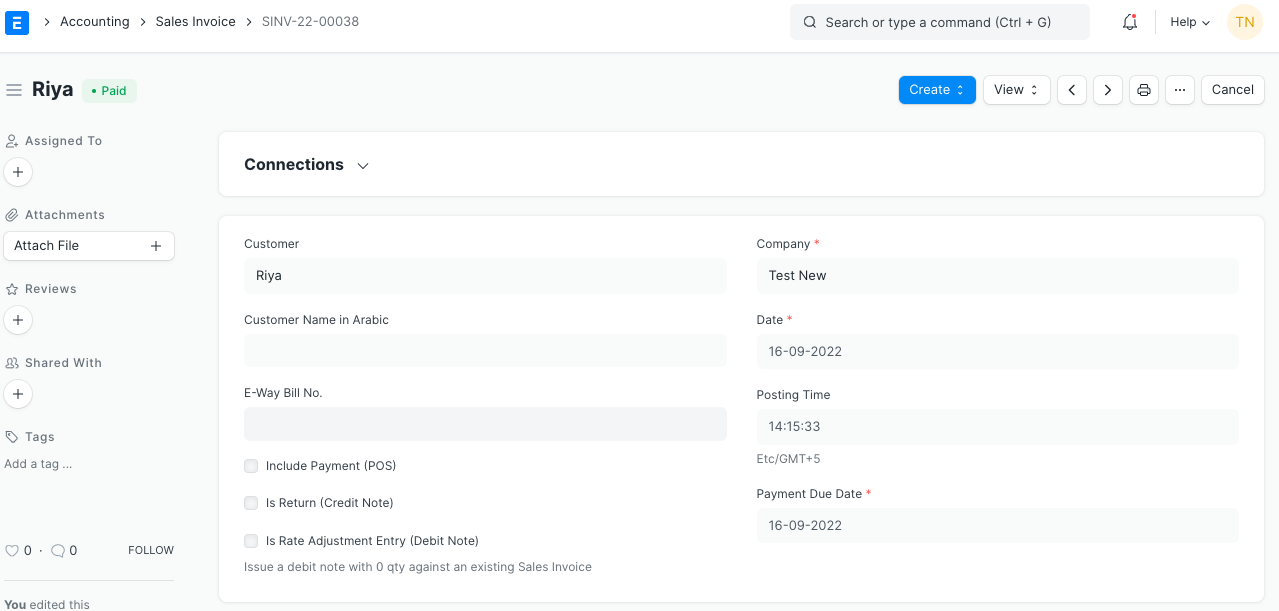
Once the Journal Entry is submitted, you can check the Sales Invoice status which will automatically be changed to 'Paid' and the Accounting Ledger will have 0 Balance.

You can follow the same steps with reverse entries in case of Purchase Invoice returns.
No comments yet. Login to start a new discussion Start a new discussion